> ## Documentation Index
> Fetch the complete documentation index at: https://documentation.droog.io/llms.txt
> Use this file to discover all available pages before exploring further.

# Embed on Your Website

> Put your assistant in front of your users — live on your website in under 5 minutes.

## Your assistant, on your website

Once your assistant is configured and tested, the final step is making it available to your users. Droog gives you a small snippet of code that you or anyone on your team who manages your website can paste in.

The result is a chat widget that appears on your website, ready for visitors to use.
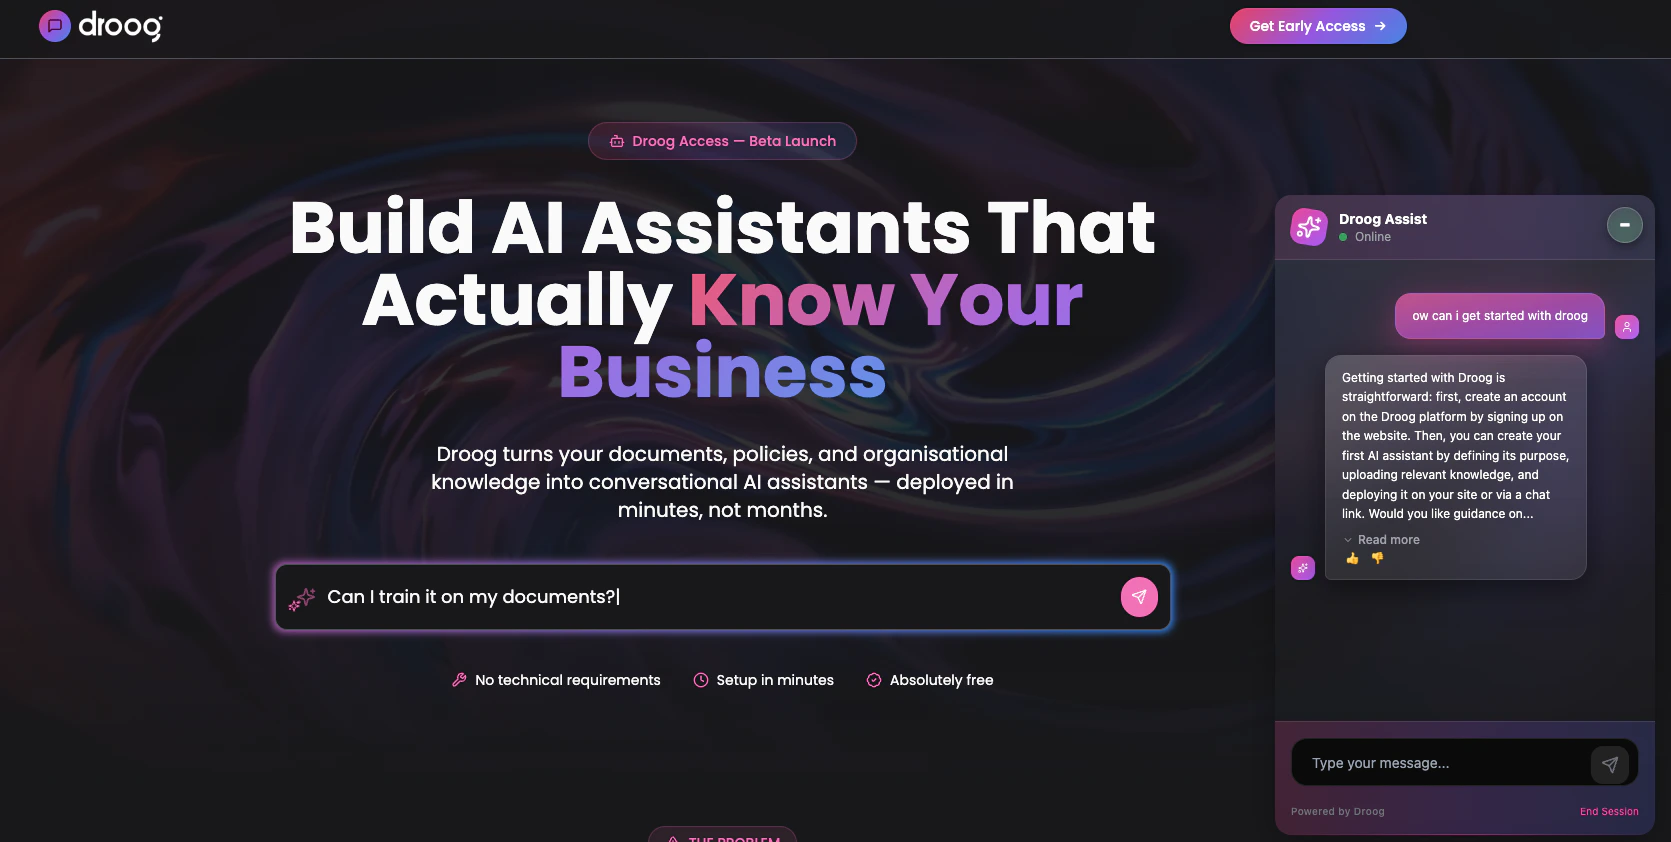
<Frame caption="The Droog chat widget live on a website — appearing in the bottom-right corner, ready for visitors to interact with">
  <img src="https://mintcdn.com/droogtechnologies-496fe651/6JQS5si1ZdVOVgAa/images/droog_web_chat.png?fit=max&auto=format&n=6JQS5si1ZdVOVgAa&q=85&s=e9f62430ed52a566ed4abfb59e192921" alt="Droog Web Chat" width="1671" height="842" data-path="images/droog_web_chat.png" />
</Frame>

## Before you embed

Make sure your assistant is ready:

<Steps>
  <Step title="Knowledge base is complete">
    All documents you want the assistant to use are uploaded and show a `Active `status.
  </Step>

  <Step title="The assistant has been tested">
    You've run through key questions in the test console and are happy with the responses.
  </Step>

  <Step title="Assistant is published">
    Your assistant's status is set to `Published`. A draft assistant will not respond to users.
  </Step>
</Steps>

## How to get your embed snippet

1. Open your assistant from the **Dashboard**
2. Click the \*\*Assistant \*\*you want to publish
3. Navigate to settings and scroll down
4. Copy the embed snippet shown on the page
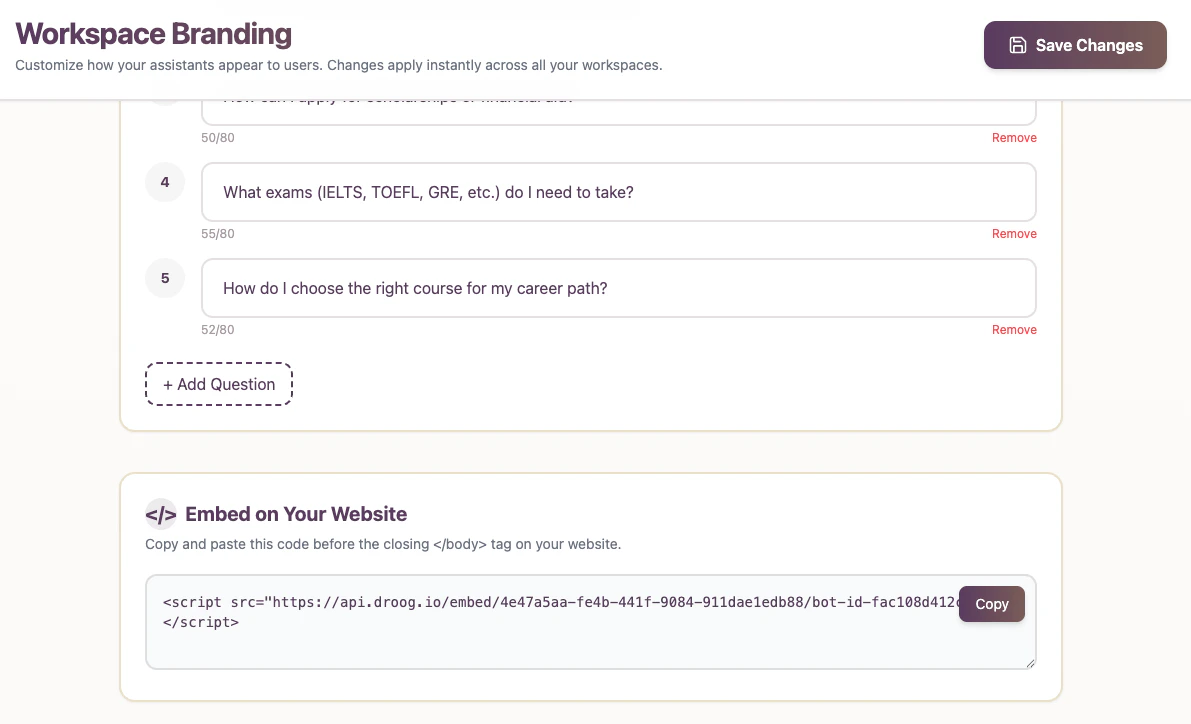
<Frame caption="The Deploy tab — where you find your unique embed snippet ready to copy">
  <img src="https://mintcdn.com/droogtechnologies-496fe651/6JQS5si1ZdVOVgAa/images/embed_snippet.png?fit=max&auto=format&n=6JQS5si1ZdVOVgAa&q=85&s=67a47e0d13eb9d548db17f046fc0c608" alt="Embed Snippet" width="1191" height="724" data-path="images/embed_snippet.png" />
</Frame>

Your snippet will look like this:

```python theme={null}
<script
	src="https://api.droog.io/embed/<Org-ID>/<Agent_iD>.js">
</script>
```

The `Org_ID `and `Agent_ID` Values are unique to your assistant. Use exactly the values shown in your **Deploy** tab — do not change them.

## How to add it to your website

Paste the snippet just before the closing `</body>` tag on any page where you want the assistant to appear.

<Frame caption="Where to paste the embed snippet in your website's HTML — just before the closing body tag">
  <img src="https://mintlify.s3.us-west-1.amazonaws.com/droogtechnologies-496fe651/images/embed-placement.png" alt="HTML Code Editor — showing a website's HTML file with the Droog embed snippet pasted just before the closing body tag, highlighted to show placement" />
</Frame>

### If you use a website builder

You don't need to edit HTML directly. Most website platforms have a dedicated section for adding custom scripts:

| Platform        | Where to add it                                                                           |
| --------------- | ----------------------------------------------------------------------------------------- |
| **WordPress**   | Appearance → Theme Editor → footer.php, or use a plugin like *Insert Headers and Footers* |
| **Webflow**     | Project Settings → Custom Code → Footer Code                                              |
| **Wix**         | Settings → Custom Code → Add Code → Body — End                                            |
| **Squarespace** | Settings → Advanced → Code Injection → Footer                                             |
| **Shopify**     | Online Store → Themes → Edit Code → theme.liquid (before `</body>`)                       |

<Tip>
  Not sure where to add it? Send the snippet to your web developer or the person who manages your website. It's a one-minute task for anyone familiar with your site.

  You can always reach out to [contact@droog.io](mailto:contact@droog.io) for clarification or support
</Tip>

## After embedding — what to expect

Once the snippet is added, visit your website. The Droog chat widget should appear in the **bottom-right corner** of the page (default) or wherever you desire to place the widget

Click it to open the chat and send a test message to confirm it's working correctly.

<Check>
  If you see the chat bubble and receive a response, your assistant is live.
</Check>

## Controlling where the widget appears

By default, the widget appears on every page where you've added the snippet. If you only want it on specific pages — for example, just your support page or your pricing page — simply add the snippet only to those pages.

## Removing or pausing the assistant

To temporarily stop the assistant from appearing on your website, either:

* **Remove the snippet** from your website's HTML
* **Unpublish the assistant** from your Droog dashboard — the widget will stop responding without you needing to change any code

## What's next?

<CardGroup cols={2}>
  <Card title="Monitor conversations" icon="chart-bar" href="/guides/analytics">
    Once live, track how users are engaging with your assistant.
  </Card>

  <Card title="Customise behaviour" icon="sliders" href="/guides/customising">
    Adjust how your assistant handles edge cases, off-topic questions, and escalations.
  </Card>
</CardGroup>

<Note>
  **Have a question about embedding?** Reach us at contact[i@droog.io](mailto:hi@droog.io)
</Note>
