> ## Documentation Index
> Fetch the complete documentation index at: https://documentation.droog.io/llms.txt
> Use this file to discover all available pages before exploring further.
# Quickstart
> Go from signup to a live, embedded AI assistant in under 10 minutes.
## Overview
Droog Assist lets you deploy a conversational AI assistant trained on your own content — no code required. In three steps, you'll create an account, configure your assistant, and embed it live on your website.
## Step 1 — Create your account and organisation
**Estimated time: \~2 minutes**
[Sign up at app.droog.io](https://app.droog.io) using your organisation's email address.
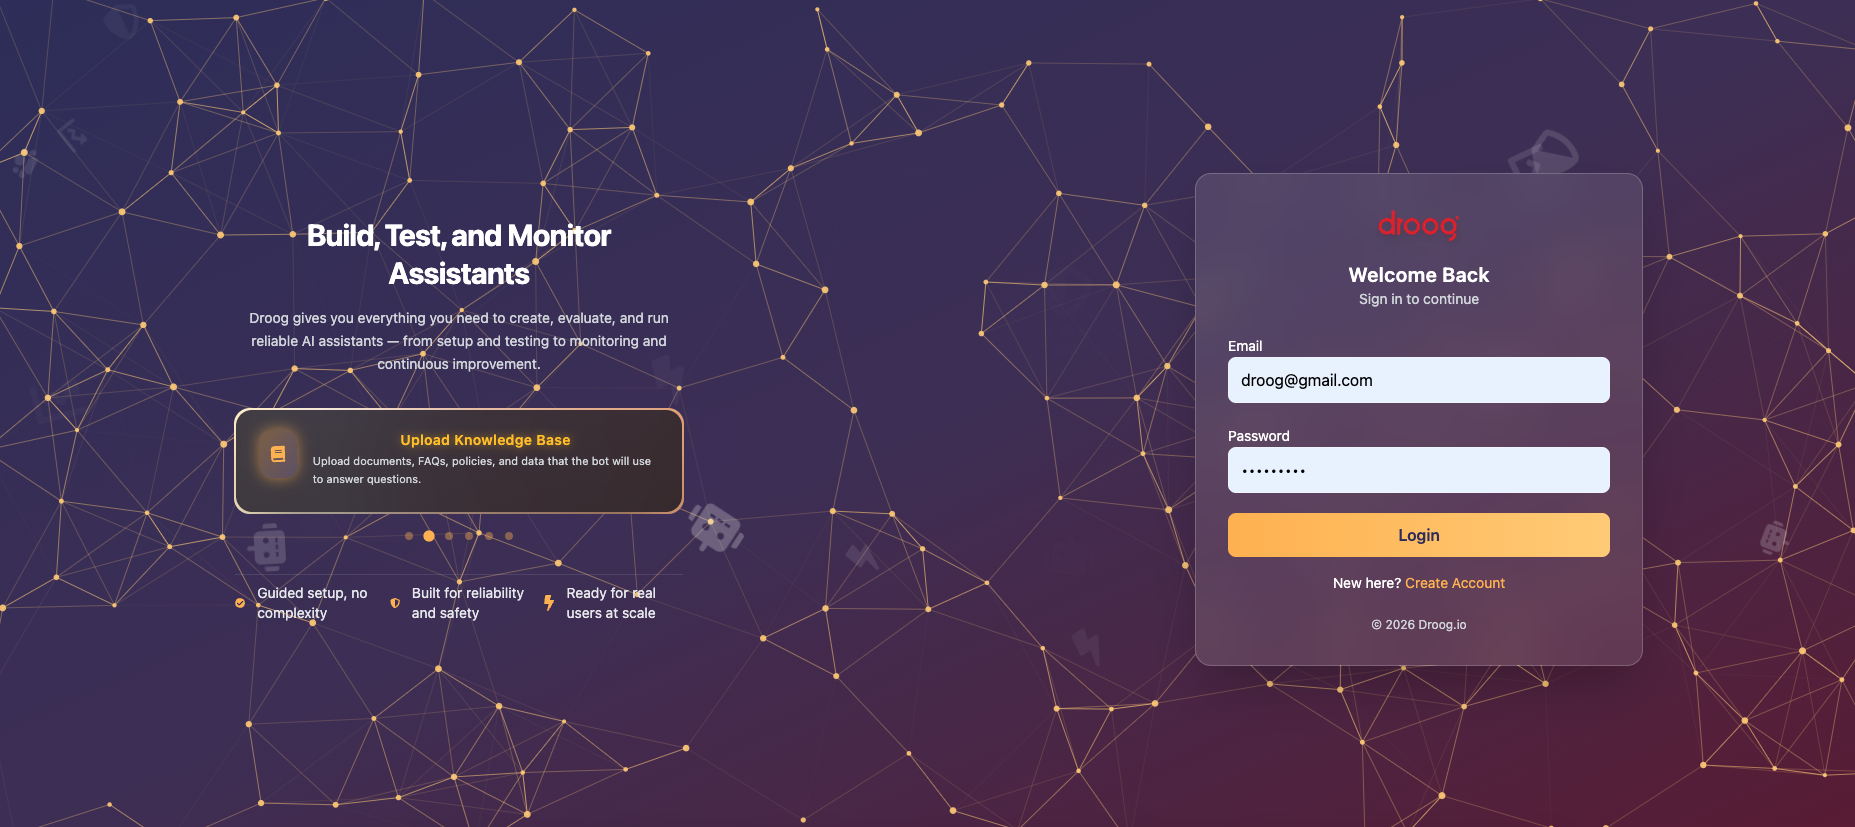 During registration, you will be asked to provide:
1. **Organisation name** — this becomes your isolated tenant workspace
2. **Primary email** — a one-time password (OTP) will be sent here for verification
3. **Password** — set after email verification is complete
Once registration is complete, you are redirected to your [Dashboard](https://app.droog.io).
Your account starts on the **Trial plan** with limited provisions. Each organisation gets a fully isolated workspace — users, assistants, and knowledge bases are **never shared across tenants**.
## Step 2 — Configure your assistant and knowledge base
**Estimated time: \~5 minutes** (longer if uploading large documents)
From your dashboard, click **Create Agent**. This opens a guided setup wizard.
### Assistant identity
Fill in the following fields to define how your assistant behaves:
| Field | Description |
| ----------------------------------------- | ---------------------------------------------------------------------------------------------------------------------------------------------------------------------------- |
| **Industry** *(required)* | The domain your assistant operates in — e.g. Healthcare, Finance, Education, Legal |
| **Voice and Personality** *(required)* | The tone your assistant uses — e.g. Professional, Friendly, Technical |
| **Bot Identity and Mission** *(required)* | A clear description of the assistant's purpose, who it helps, and how it should respond. A detailed mission produces a more accurate and consistent assistant. |
| **Extra Intelligence** *(optional)* | Additional rules, constraints, sample phrases, or company-level context to guide behaviour — e.g. "Do not discuss competitors", "Always escalate billing queries to support" |
All required fields must be filled before proceeding. The more specific your **Bot Identity and Mission**, the better your assistant will perform out of the box.
### Build your knowledge base
Your assistant answers questions using the content you upload here. You can also skip this step and add knowledge later from the **Knowledge** tab in your dashboard.
**Supported file types:**
Each uploaded file goes through an ingestion pipeline — text extraction, chunking, embedding, and indexing.
Wait until all uploaded documents show a `completed` status before testing your assistant. Querying against partially indexed content produces unreliable or incomplete results.
When importing content from websites, ensure you have the rights to use that content. Always follow applicable copyright and data usage guidelines.
## Step 3 — Publish and embed
**Estimated time: \~1 minute**
### Publish your assistant
Click **Publish** from your assistant dashboard. This changes your assistant's status from `draft` → `published` and makes it accessible to users.
### Embed on your website
Once published, navigate to the **Deploy** tab. Copy your unique embed snippet and paste it before the closing `` tag on any webpage where you want the assistant to appear.
```html theme={null}
During registration, you will be asked to provide:
1. **Organisation name** — this becomes your isolated tenant workspace
2. **Primary email** — a one-time password (OTP) will be sent here for verification
3. **Password** — set after email verification is complete
Once registration is complete, you are redirected to your [Dashboard](https://app.droog.io).
Your account starts on the **Trial plan** with limited provisions. Each organisation gets a fully isolated workspace — users, assistants, and knowledge bases are **never shared across tenants**.
## Step 2 — Configure your assistant and knowledge base
**Estimated time: \~5 minutes** (longer if uploading large documents)
From your dashboard, click **Create Agent**. This opens a guided setup wizard.
### Assistant identity
Fill in the following fields to define how your assistant behaves:
| Field | Description |
| ----------------------------------------- | ---------------------------------------------------------------------------------------------------------------------------------------------------------------------------- |
| **Industry** *(required)* | The domain your assistant operates in — e.g. Healthcare, Finance, Education, Legal |
| **Voice and Personality** *(required)* | The tone your assistant uses — e.g. Professional, Friendly, Technical |
| **Bot Identity and Mission** *(required)* | A clear description of the assistant's purpose, who it helps, and how it should respond. A detailed mission produces a more accurate and consistent assistant. |
| **Extra Intelligence** *(optional)* | Additional rules, constraints, sample phrases, or company-level context to guide behaviour — e.g. "Do not discuss competitors", "Always escalate billing queries to support" |
All required fields must be filled before proceeding. The more specific your **Bot Identity and Mission**, the better your assistant will perform out of the box.
### Build your knowledge base
Your assistant answers questions using the content you upload here. You can also skip this step and add knowledge later from the **Knowledge** tab in your dashboard.
**Supported file types:**
Each uploaded file goes through an ingestion pipeline — text extraction, chunking, embedding, and indexing.
Wait until all uploaded documents show a `completed` status before testing your assistant. Querying against partially indexed content produces unreliable or incomplete results.
When importing content from websites, ensure you have the rights to use that content. Always follow applicable copyright and data usage guidelines.
## Step 3 — Publish and embed
**Estimated time: \~1 minute**
### Publish your assistant
Click **Publish** from your assistant dashboard. This changes your assistant's status from `draft` → `published` and makes it accessible to users.
### Embed on your website
Once published, navigate to the **Deploy** tab. Copy your unique embed snippet and paste it before the closing `` tag on any webpage where you want the assistant to appear.
```html theme={null}